

Update: See my latest post on making a one size AI2 diaper.
I started making newborn diapers for our little girl on the way. I have pul covers that I used for J that are a bit worn, but work great for making ai2 newborn diapers. I really like ai2 diapers since are quick drying and very easy to use. I lined the diaper with bamboo/organic cotton velour and made the snap in soaker with bamboo/hemp jersey. The pattern I used is the Darling Diapers Free Newborn Fitted Pattern. I added a snap rise adjustment to allow additional sizing flexibility. Below is a tutorial on how I made the diaper.


1. Print out the diaper pattern. I added a few adjustments to the newborn diaper pattern as shown in the picture including a double row of snaps to shorten the rise and make the diaper one size. I moved in the wing snaps to allow for the seam allowance. I also marked the snap placement for the snap in soaker. Cut one out of pul fabric and mark the snap placement. Mark the location for the elastic. Cut one out of bamboo/organic cotton velour for the lining and mark snap placement for the snap in soaker. The small circles of fabric are for snap reinforcement. The snap in soaker is a modified version of the one included with the pattern. Cut one out bamboo/organic cotton velour and 4-6 layers of bamboo/hemp jersey. Mark the snap placement on the back of the last layer of bamboo/hemp jersey for the soaker.

2. Attach the snaps to the pul outer fabric using the scrap pul circles for reinforcement. Attach the snaps to the liner fabric and also to 3 or 4 layers of the bamboo/hemp jersey fabric for the soaker. Cut two 6 inch pieces of 1/4 inch elastic for the legs and one 5 inch piece of elastic for the back.

3. Sew the pul outer fabric and the bamboo velour inner fabric together with wrong side facing outwards. Leave a small gap at the top of the diaper to turn. Sew on the ends only of the elastic to the markings on the legs and back.
4. Turn the diaper right side out. Stitch around the entire diaper closing the open edge and making sure to not catch the leg and back elastic. Stitch a half inch casing for the leg and back elastic making sure to not catch the elastic in the sewing. This will form a cute ruffle edge for the leg and back elastic.

5. Add the wing snaps and umbilical cord snap to the outside of the diaper. Sandwich all the layers together for the soaker and use a decorative stitch to sew it together. I used a 3 step zig zag. Diaper is all done!

Here is the inside of the diaper with the snap in soaker.

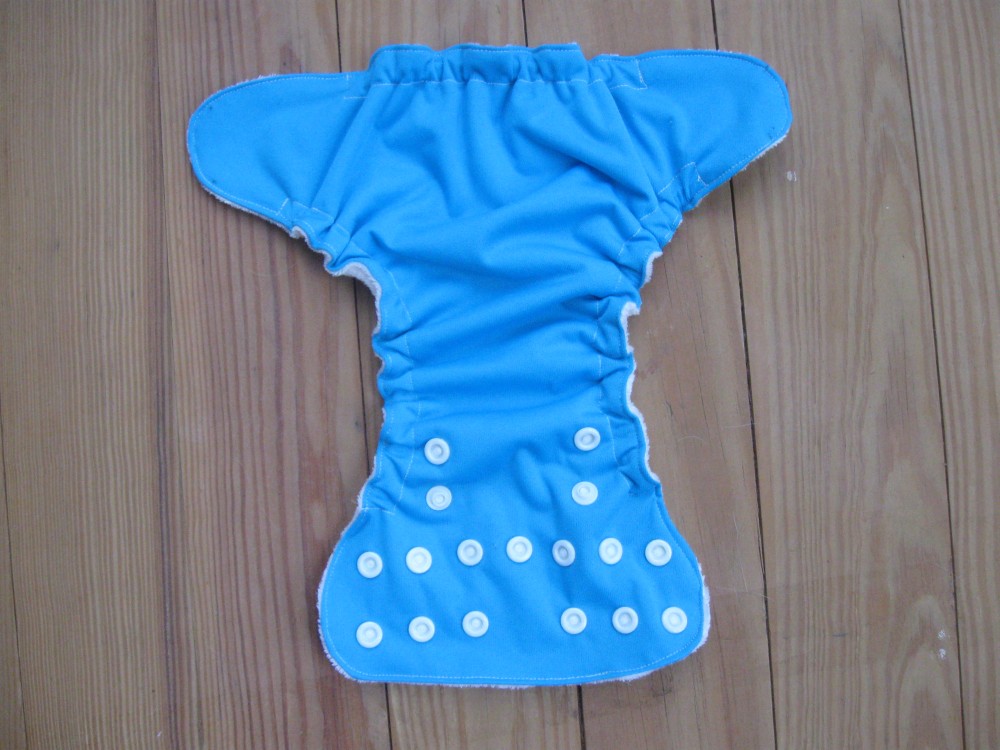
Here is the diaper on the regular setting without the umbilical cord snap.

Here is the diaper on the smallest setting with the umbilical cord snap.
Very tiny and pretty cute!


7 comments:
Umm.... Seriously??? You're amazing. Little girl will be so cute (and Eco-friendly) in these! Fun looking thru your blog- you make the cutest stuff. My sis and I have one too- check it out when you are bored and want some girl-sewing!!! :). See you guys tomorrow at school!!
Hi Erin! Thanks so much!! I really love your blog. It is so awesome that you can do it together with your sister. So fun!!
This is such a great idea. I was just wondering how far apart you are spacing your rise snaps?
So you said you added snaps to be able to adjust the rise but can you tell me the spacing? I couldn't find this information in your post. Thanks :)
Sorry for the delay in responding. I used an inch and half spacing from center to center for the rise snaps.
Just wanted to say that I completed my first NB diaper from your tutorial. My elastic didn't seem to bunch up as much as yours looked to but I think all in all in came out good. I hope to have a friend try it out to see how well it works. I ended up using PUL on the outside, 50/50 viscose in the middle and fleece on the inside. For the soaker/insert I did 4 layers of the 50/50 viscose sandwiched between flannel. Keeping my fingers crossed it works so I can get started on more for my little bundle coming in Nov!
Wonderful! I hope the diapers work out great. What an awesome gift.
Post a Comment